How Many Submarine Fiber Optic Cables Does Vietnam Have?
21/10/2025

Đang Tải...
24/07/2024
This article provides instructions for setting up a VPN node to bypass network restrictions using X-UI on a VPS.
Mục lục
Mục lục
You need a VPS to install X-UI with a modest configuration, typically starting from 1 GB RAM for optimal performance.
All TotHost VPS types can install X-UI. You can refer to TotHost's VPS price list for TOT K and TOT M.
The recommended operating systems are:
Before installing X-UI, log in to your VPS and update using the command:
Then open the necessary ports:
If you are using TotHost's VPS, you can skip this step.
Now proceed with the X-UI installation. The original version of X-UI is in Chinese, which provides more assurance regarding information, but you can also install the Vietnamese version by dominhhieu1405 from GitHub.
Once the above steps are completed, execute the following command to install X-UI in Vietnamese:
Source: GitHub (dominhhieu1405)
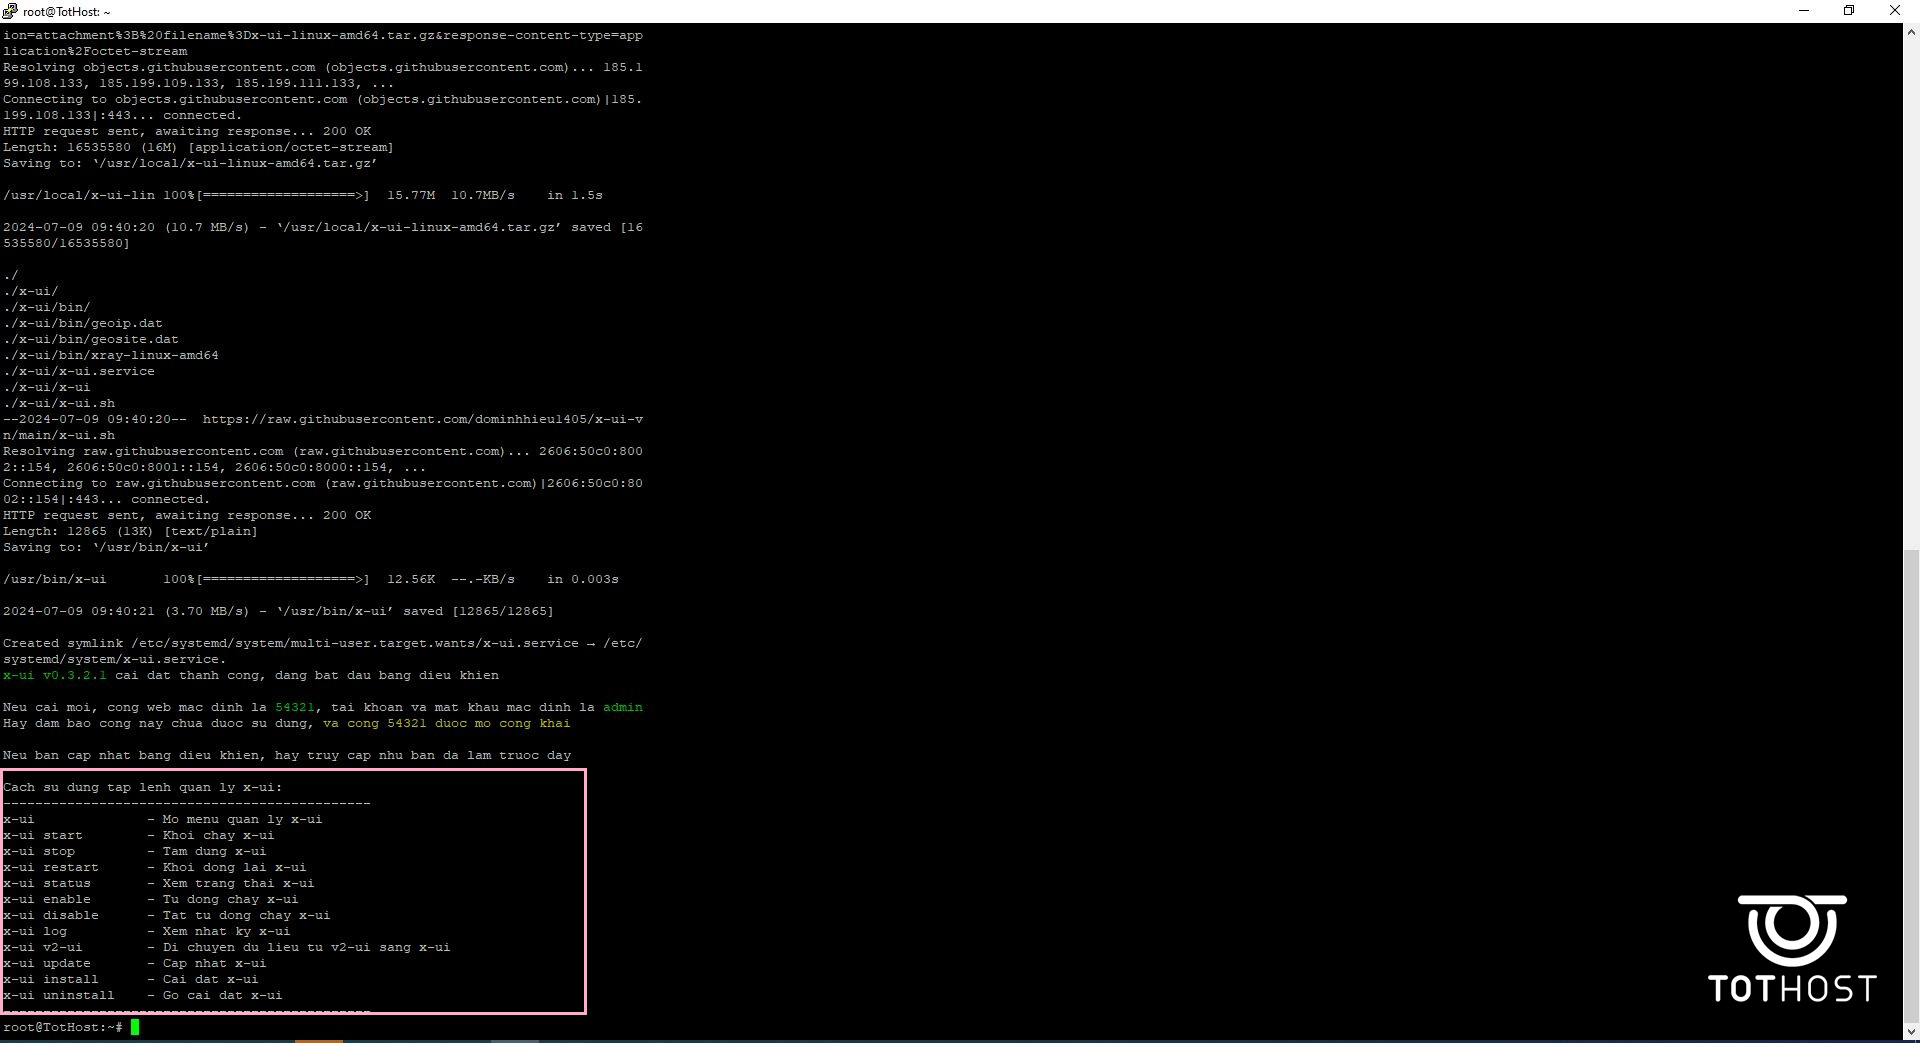
If language preference is not a concern, install the original version for more assurance regarding information:
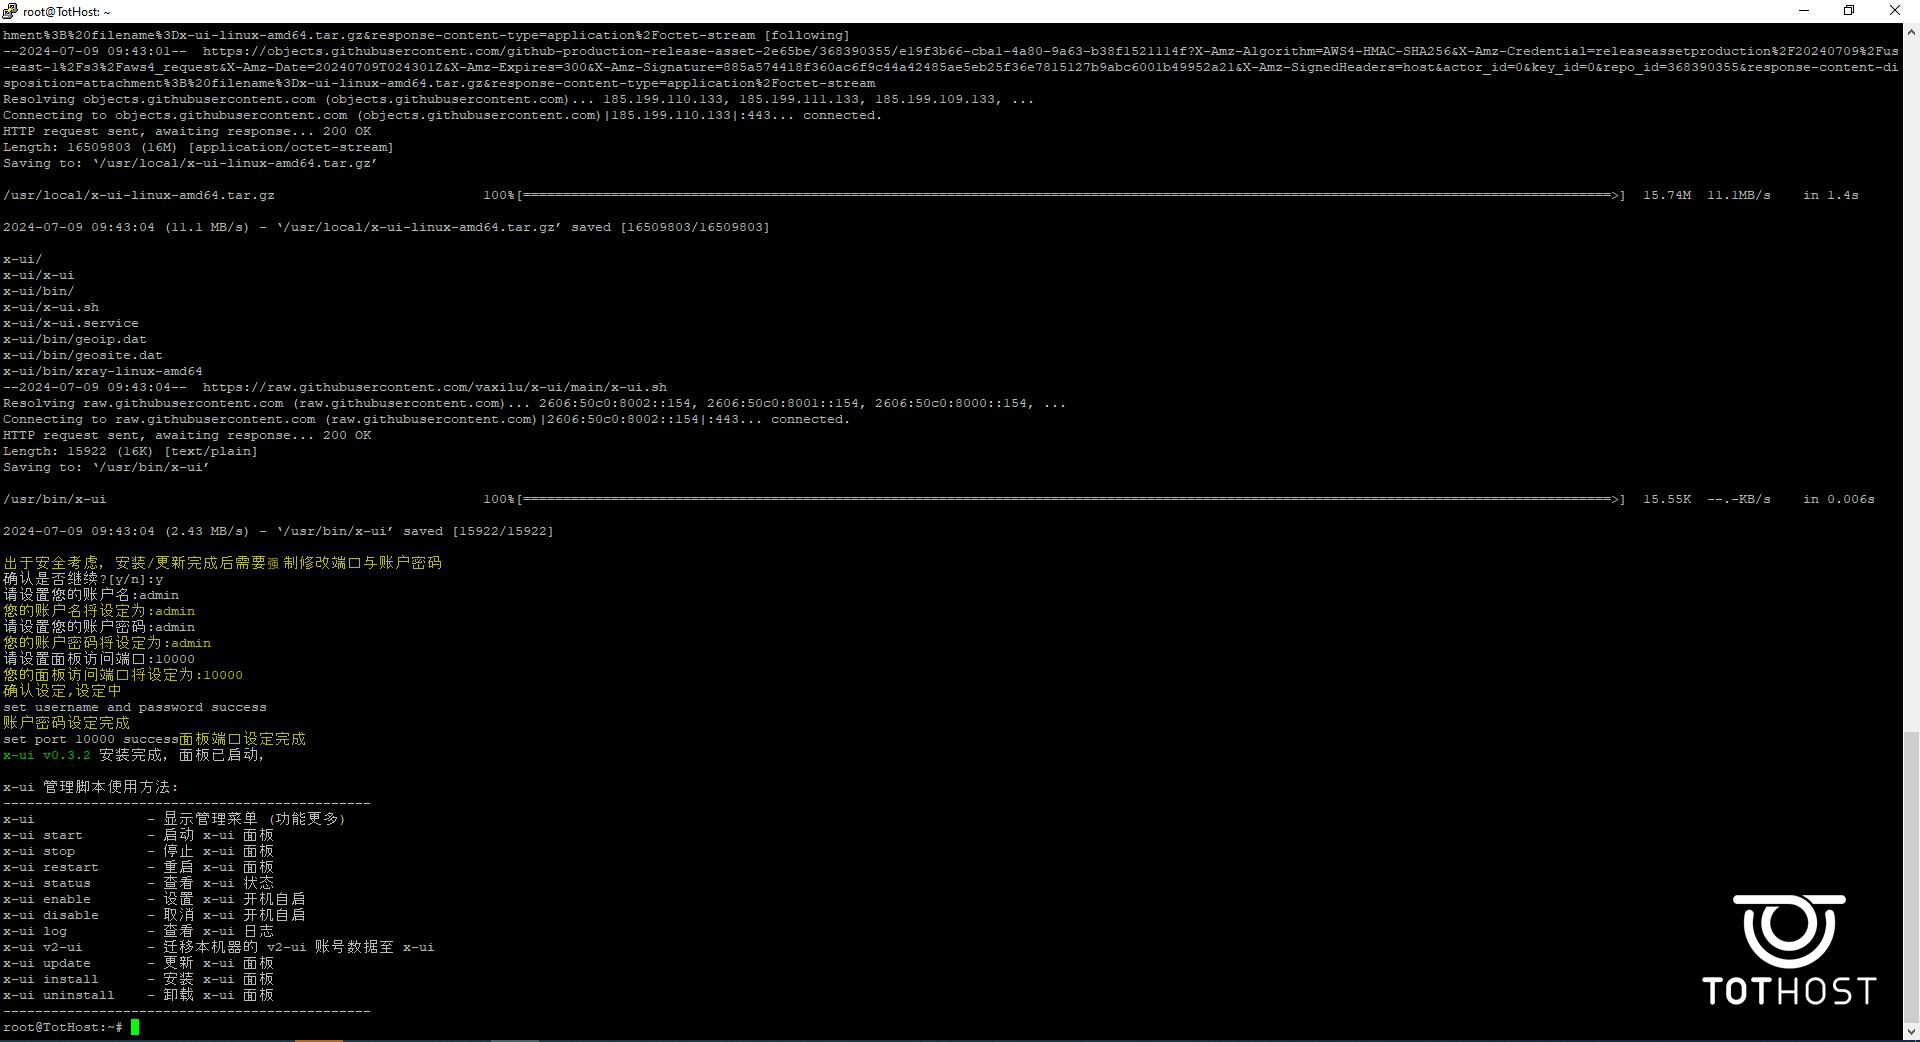
Set username, password, and port as prompted:
确认是否继续 [y/n]: => y
您的帐户名将设定为: (Set username)
请设置您的账户密码: (Set password)
Note: Remember the username and password for setting up the node in the following section.
请设置账户面板访问端口: (Set port)
For example, here the port is 10000.
Upon successful installation, the X-UI interface will be displayed:
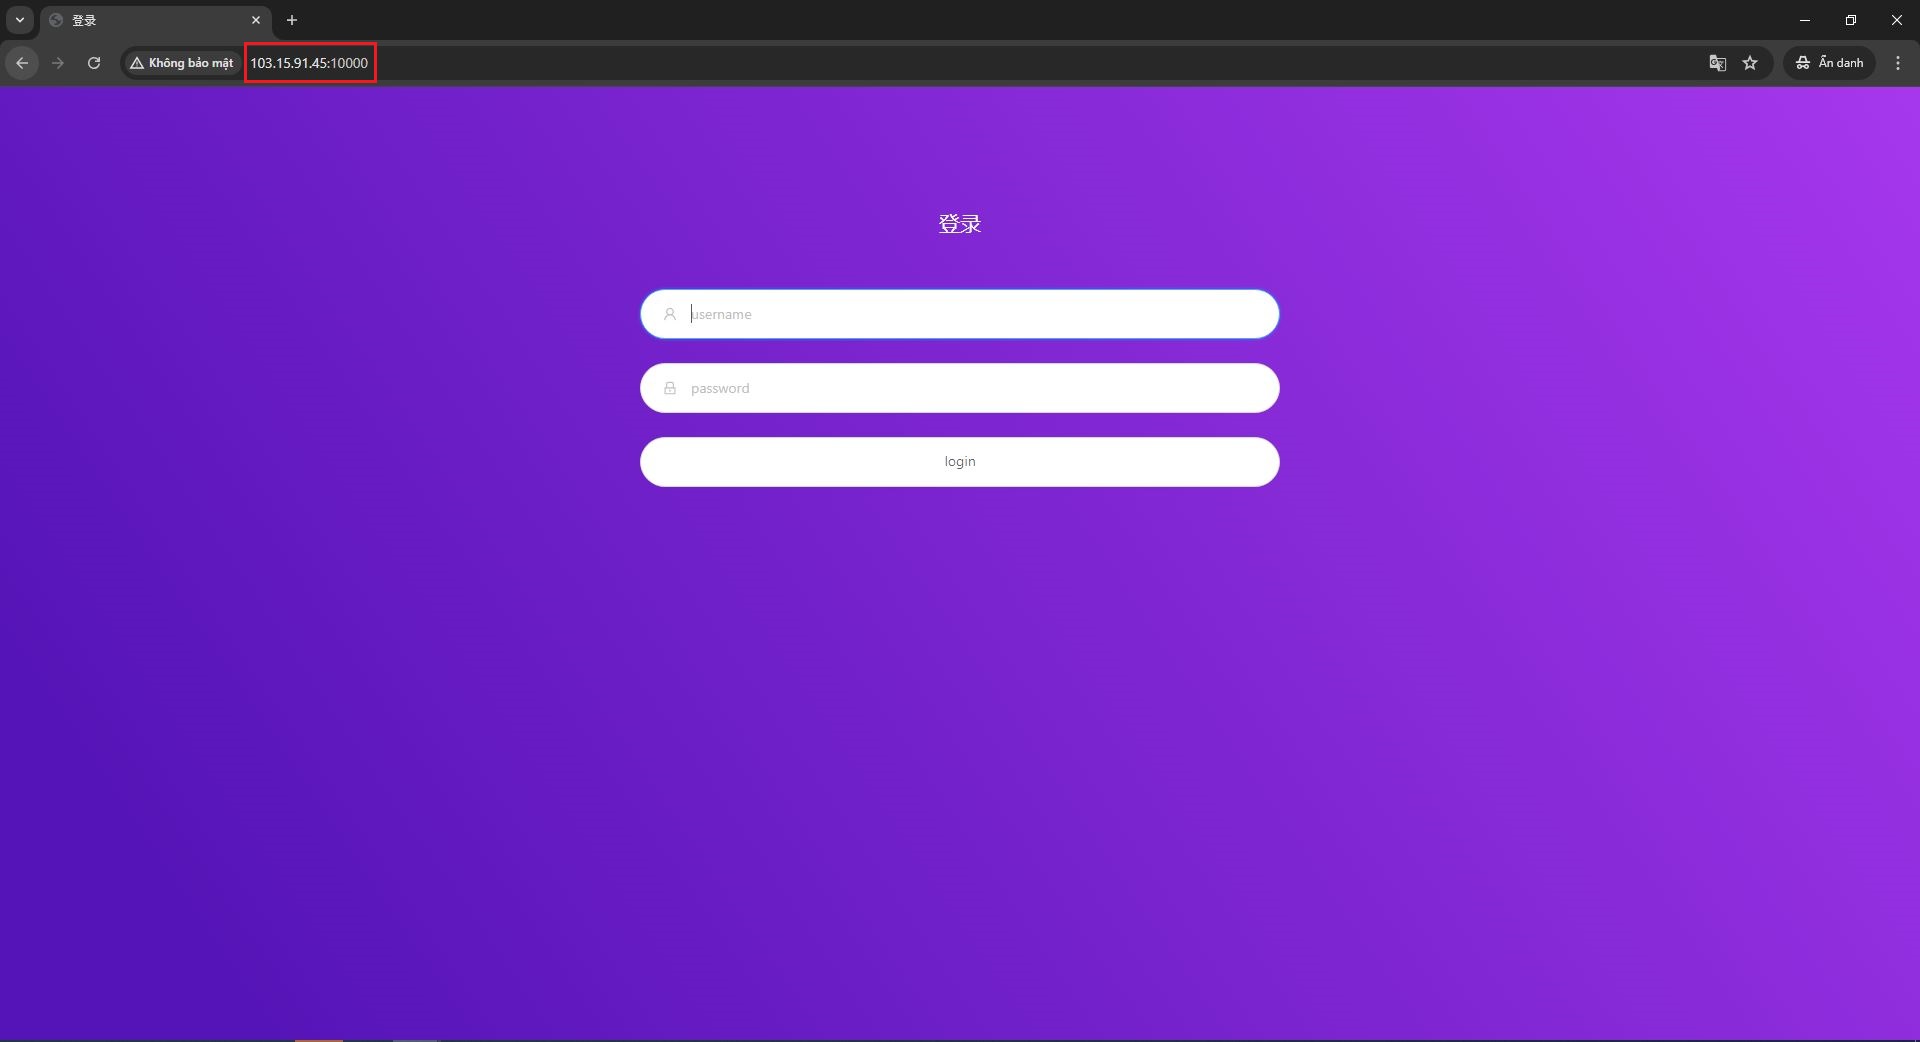
Once X-UI is installed on the VPS, open a web browser and access the following URL: [VPS IP address]:[port] (Example: 103.15.91.45:10000). Use the created username and password to log in to the dashboard.
The interface upon logging into X-UI is as follows:
After successful login, select the second line "入站列表" in the left toolbar, then click on the "+" sign.
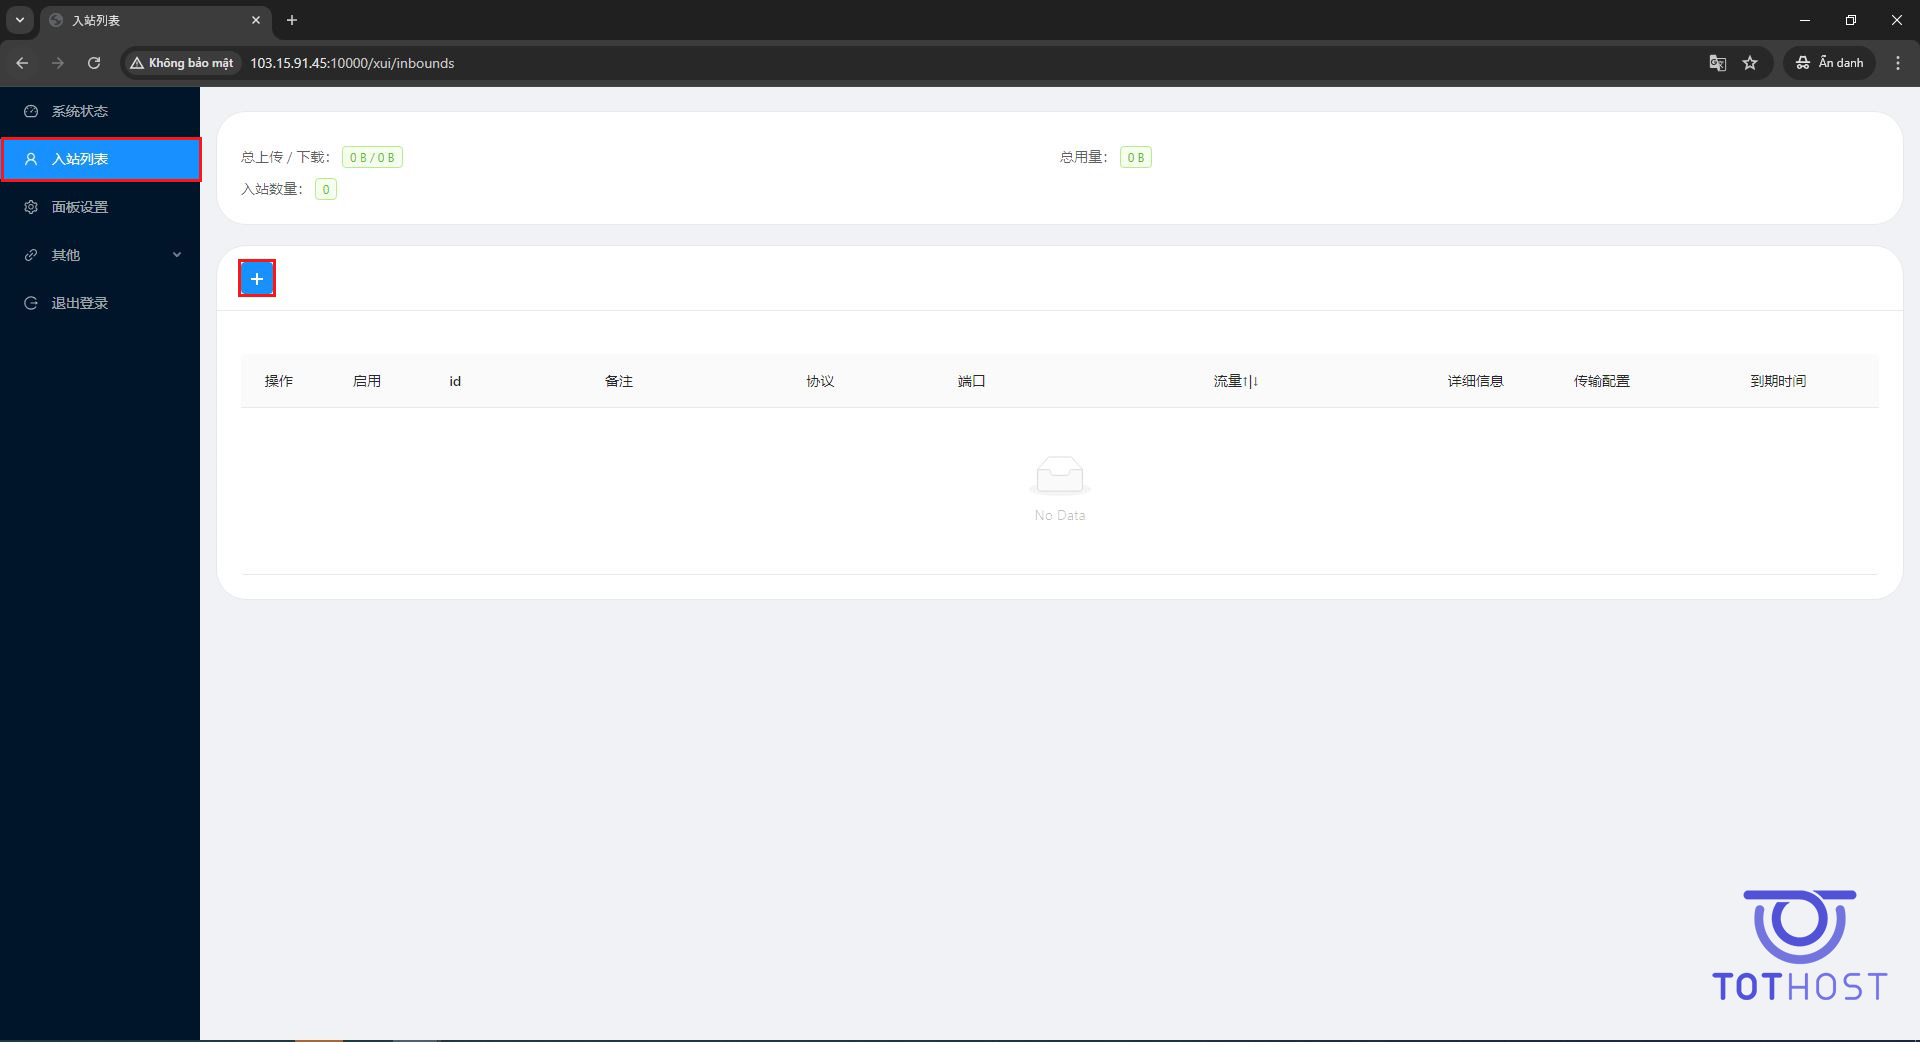
A dialog box will appear where you can customize according to your usage needs. If using default settings, simply press the green button to set up.
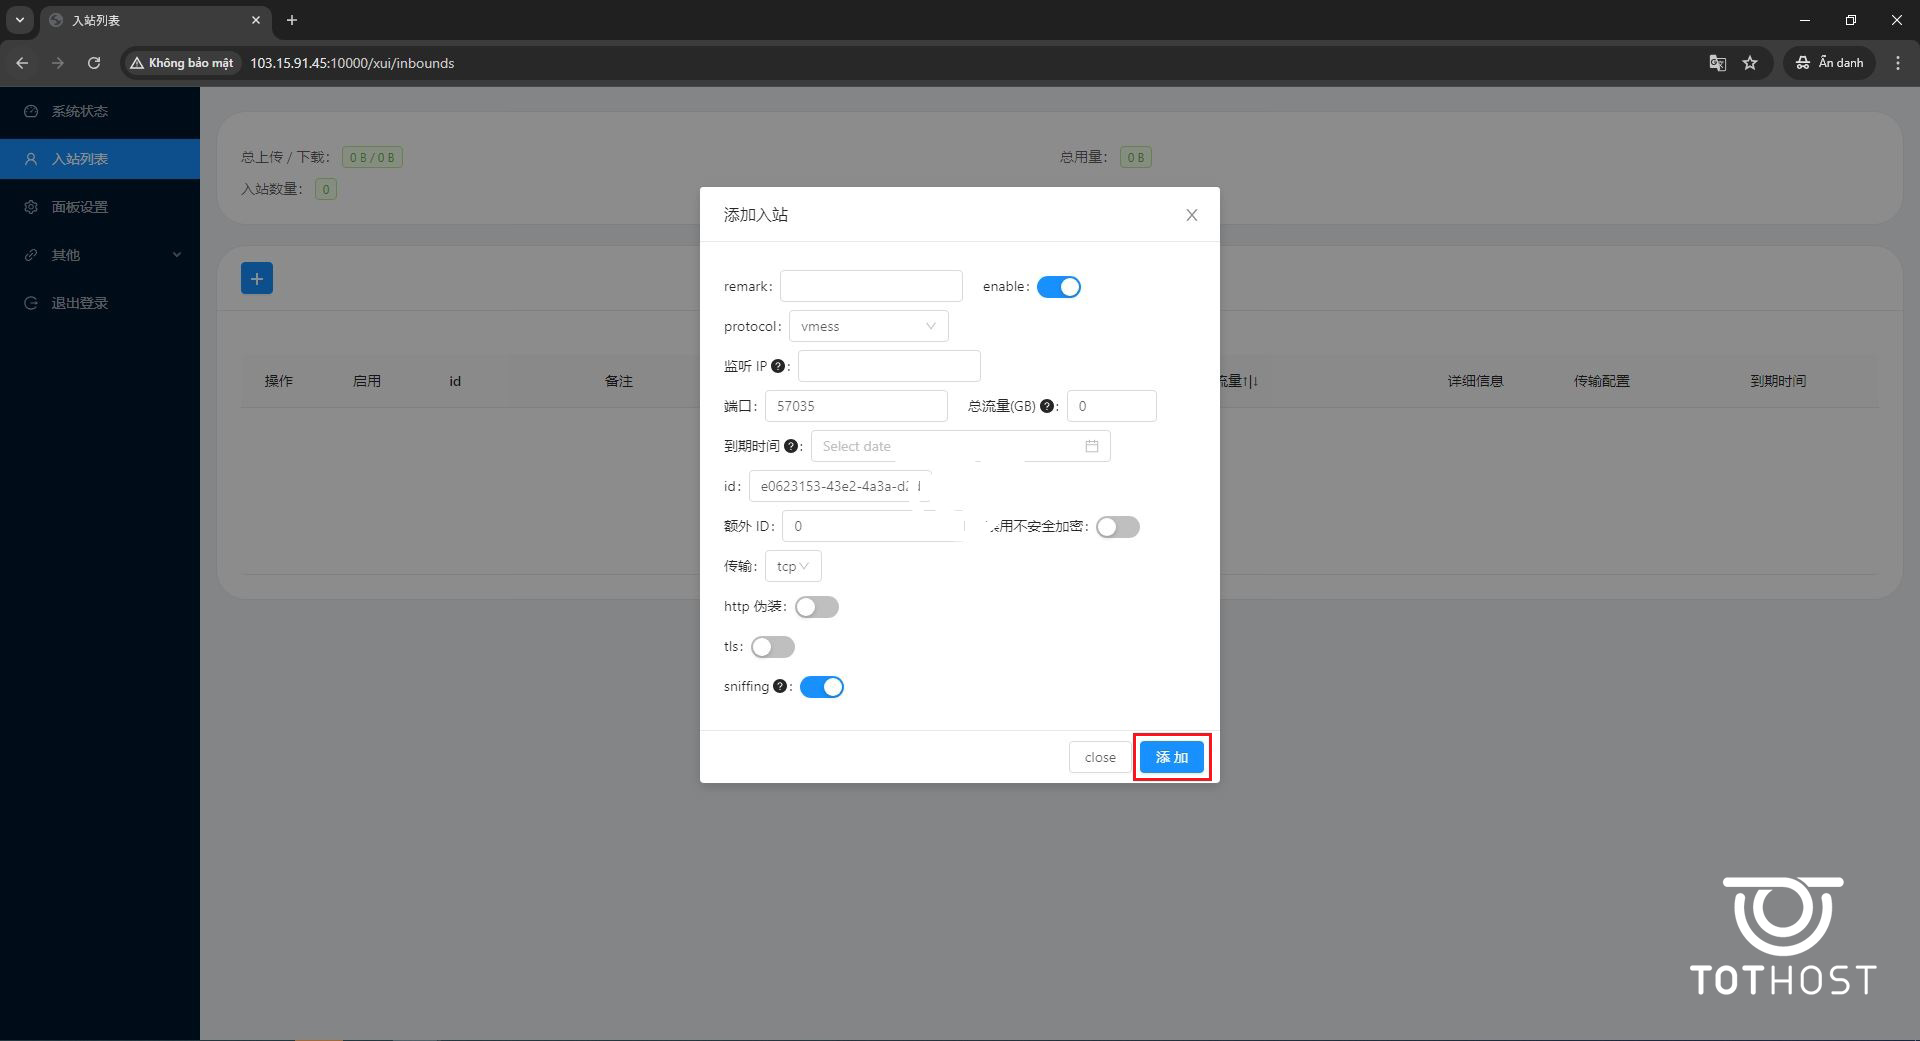
The newly created node will appear on the screen. Click on "操作" in green text, then select the first option "二维码" to obtain the QR code or use Vmess information to connect.
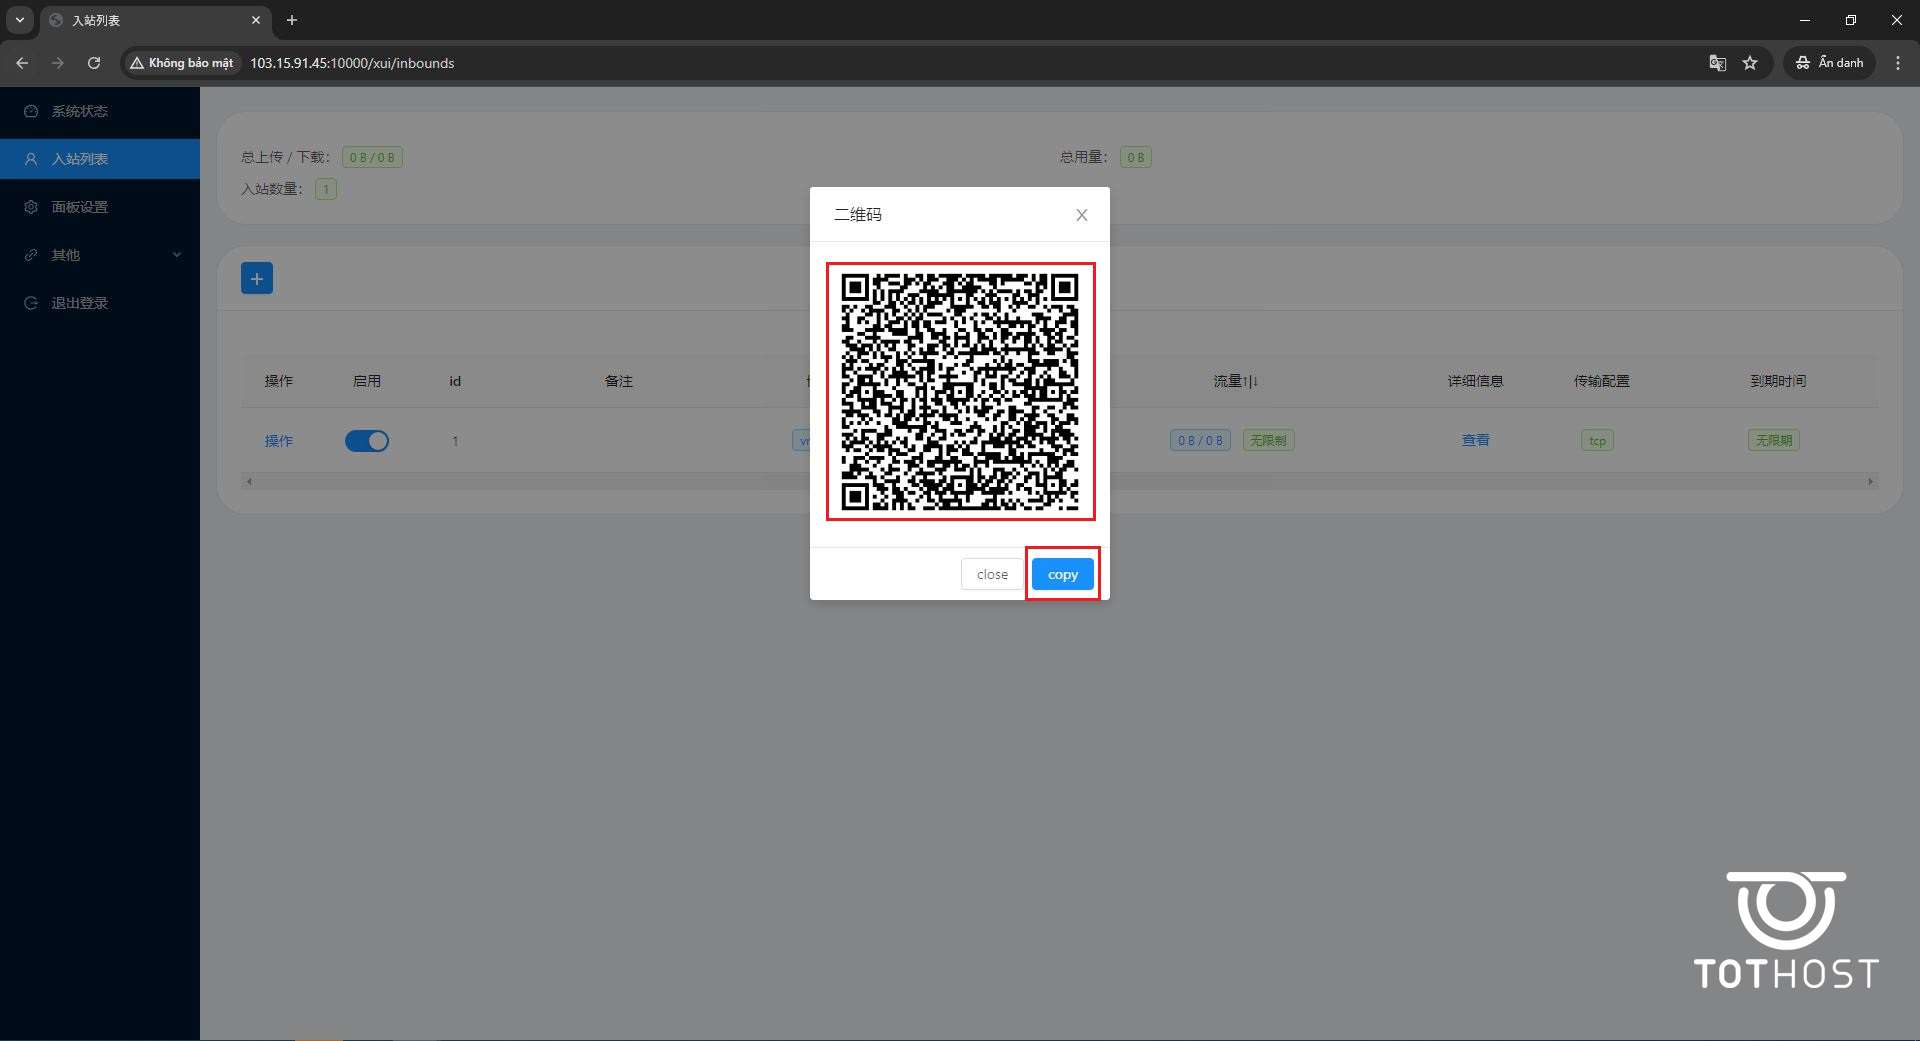
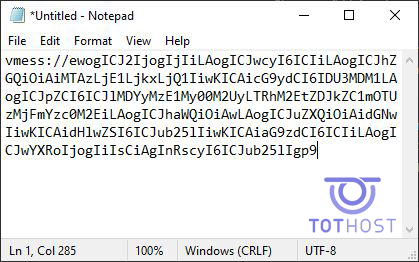
To retrieve Vmess information, select Copy and paste it into Note to save.
Note: One VPS can create multiple nodes.
For smartphone connections, install applications like Qv2rayNG (Android) or V2BOX (iOS) to scan the QR code or use Vmess information.
For PC connections, download the Qv2ray application or follow the instructions in the article "How to Install and Configure Qv2ray for Windows."